

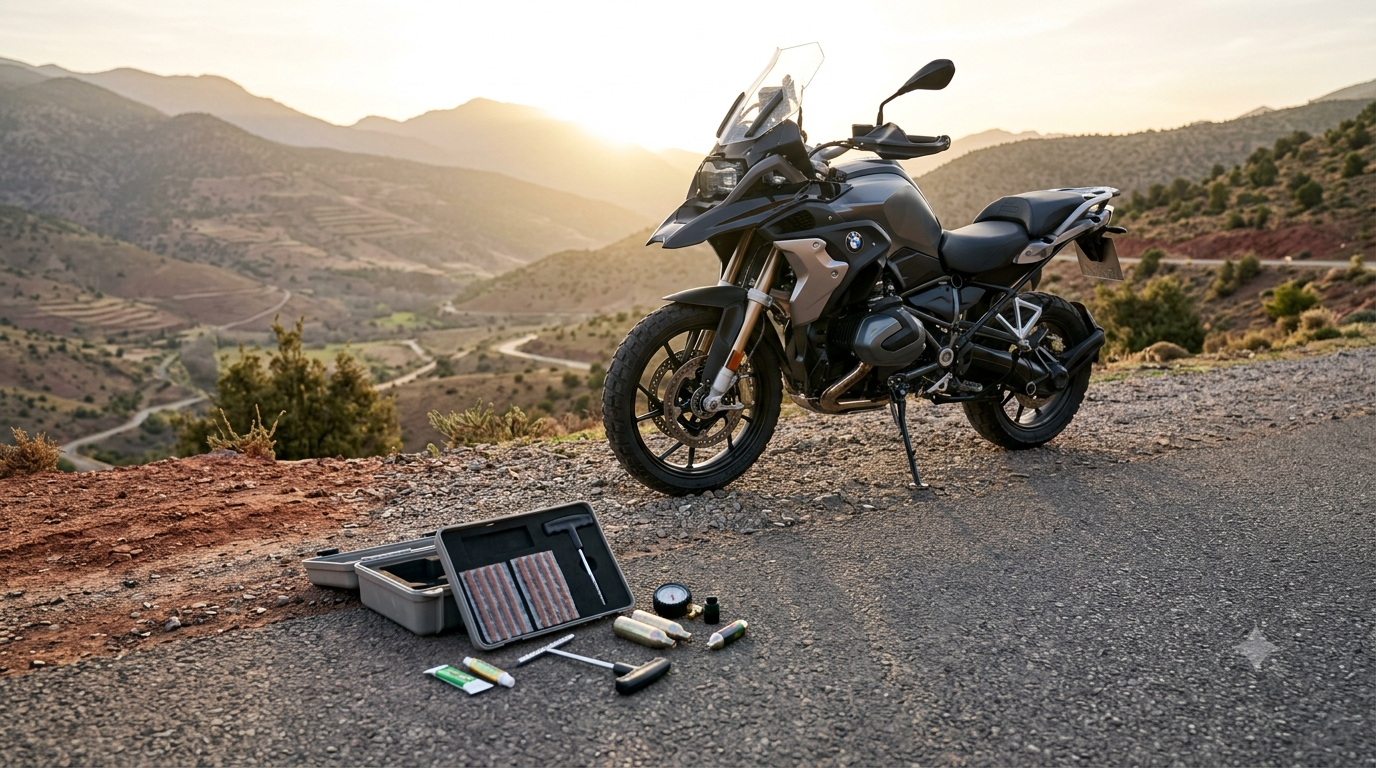
motorcycle tubeless tire repair kit is an essential tool every adventure rider should carry, especially if your travels take you far away from help. A flat tire off-road can leave you stranded miles from the nearest town, but with the right kit and a bit of know-how, you can fix most punctures and get back on the trail fast.
Key Takeaways
- A compact, reliable motorcycle tubeless tire repair kit is vital for self-sufficiency on remote ADV rides.
- Learning how to fix a flat off-road motorcycle tire and practicing at home reduces stress during real emergencies.
- Choosing the best tubeless plug kit means balancing size, durability, and plug variety for quick and effective repairs.
Table of Contents
Why Every ADV Rider Needs a Tubeless Tire Repair Kit
Punctures are a fact of life for anyone tackling gravel, rocky trails, or forestry roads on an adventure bike. Tires take a beating from sharp stones, stray nails, and even broken sticks. On a remote ride, a flat can quickly turn a dream trip into a logistical nightmare. Waiting for help isn’t an option when you’re beyond cell range or riding with a group that counts on your self-reliance.
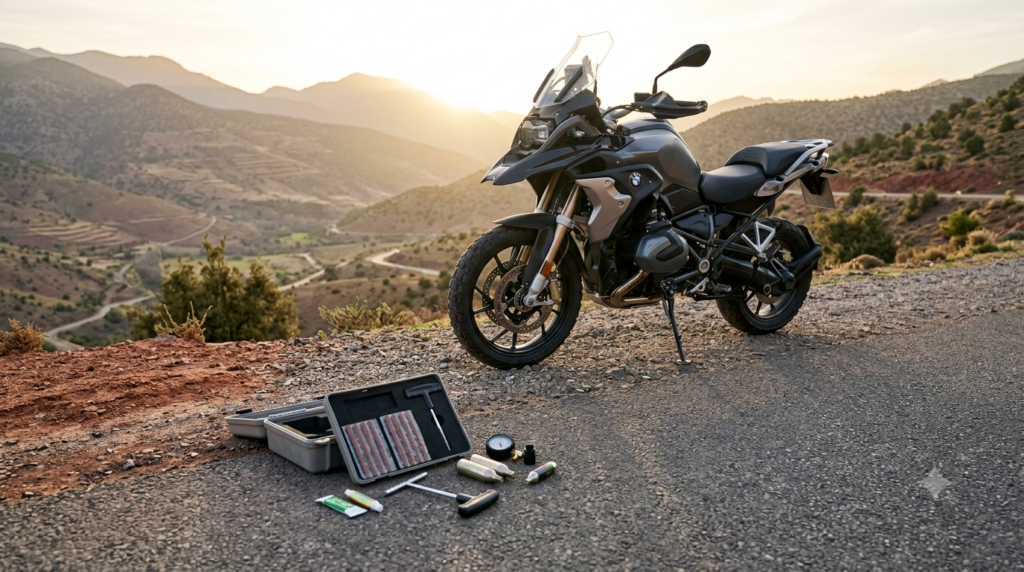
That’s why every adventure rider should carry a motorcycle tubeless tire repair kit and know how to fix a flat off road motorcycle. With the right tools, you can plug most punctures in less than 30 minutes, saving your trip and increasing your safety. A great example is the Trail Tech Tire Repair Kit, which is designed to tackle both tubed and tubeless tires—so you’re covered, whatever you (or your buddies) ride [1].
More importantly, DIY roadside repair means you aren’t forced to limp your machine on a deflated tire, risking further rim damage or a dangerous blowout. Self-sufficiency also keeps your group moving on time—and gets everyone home safely.
Roadside Repair: Step-by-Step Guide to Fixing a Flat Tubeless Tire Off-Road
A good repair kit is only useful if you know how to use it. Here’s a realistic, field-tested approach to plugging a tubeless motorcycle tire—fast, even in the dirt and dust of the trail.
- Locate and mark the puncture:
Roll your tire until you spot the nail, screw, or gash. If you can’t find it, spray a bit of water or soapy solution for bubbling. Mark the spot with chalk or tape. - Remove the offending object:
Use pliers or your multi-tool to carefully pull out any debris or metal. Inspect the puncture to see if it’s a simple hole or a tear. - Prep the hole:
Use the reamer tool (provided in every quality tire repair kit for adv bike) to clean and roughen the edges of the hole so the plug bonds securely. - Insert the plug:
Thread a sticky plug or mushroom plug (depending on your kit) halfway into the plugger tool. Push the plug straight into the hole until only a bit is sticking out, then pull the tool straight out—leaving the plug inside. For extra-large holes, consider doubling up plugs or using a mushroom design. - Trim the excess:
Use a knife to cut the remaining plug material flush with the tire surface so it doesn’t catch on the ground. - Inflate the tire:
Attach your CO2 inflator or mini pump. Inflate slowly and check the PSI with a gauge (bare minimum: 50% of full pressure to seat bead, then top up as needed). - Check for leaks:
Re-spray water onto the plugged area. If bubbles form, try pressing the plug further or consider inserting a second plug. - Ride with caution:
Ride a short distance, stop, and check for leaks again before heading for civilization or tackling more off-road sections.
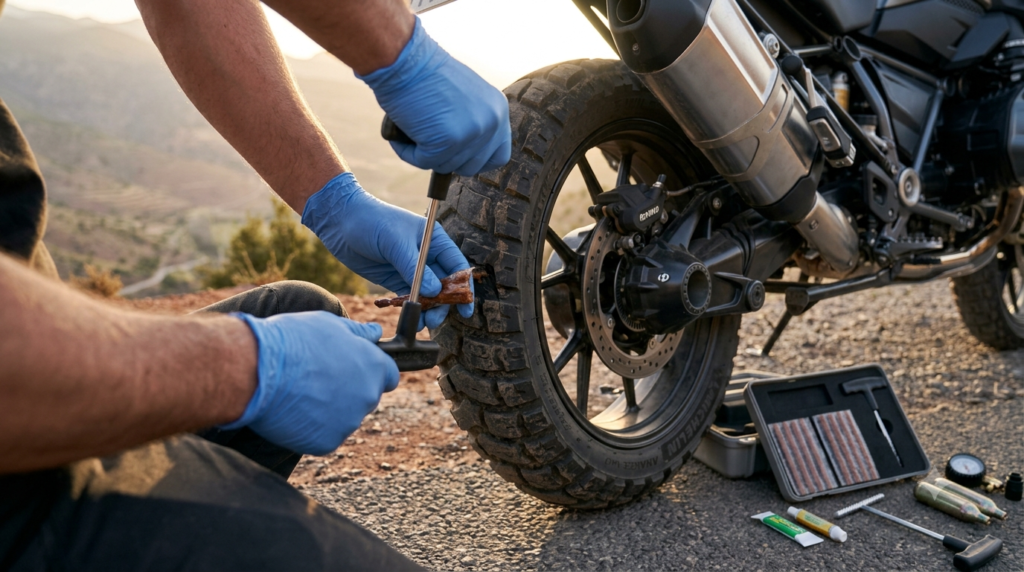
With practice, off-road tire repair using these kits can be completed in well under an hour; most punctures take just minutes once the wheel is off [2]. But remember: if you’re in mud, rain, or wind, everything is harder. Pre-organize your kit so everything’s easy to grab—especially CO2 cartridges and gloves.
Not sure how to pack for bigger trips? See our guide on packing smart for adventure motorcycle camping.
Key Considerations: CO2 vs. Pump, Plug Types, and Emergency Extras
Not every adv tire plug kit is created equal. Here’s what you need to know before hitting the dirt—and what often trips up even experienced riders.
| Feature | CO2 Inflator | Mini Pump | Mushroom Plug | Sticky String |
|---|---|---|---|---|
| Speed | Very fast (seconds per cartridge) | Slower (few minutes, elbow grease) | Medium (easy tool insertion) | Fast (simple push-in) |
| Refillable/Reusable? | One and done; limited by cartridges | Unlimited use, as long as you have energy | One-time use per plug | Multiple plugs per kit, easy to carry extras |
| Plug Size Range | N/A | N/A | Seals larger holes (good for ADV tires) | Best for small/medium punctures |
| Kit Bulk & Weight | Minimal (except for spare cartridges) | Slightly bulkier, more reliable in remote areas | Compact tool & plugs | Extremely compact, light |
| Potential Problems | Run out of cartridges; hard to seat bead on big ADV tires | Takes effort; can break if cheap | Tricky on angled punctures | May leak if hole is too wide or strings degrade over time |
Some ADV riders prefer a hand or foot pump over CO2 because you can refill as many times as needed—a life-saver if you need to reseat a tire that’s come off the bead, or if you’re helping a buddy. Kits like the Stop & Go 1080 Mushroom Plug Kit and the Nealey Mini Tire Repair Kit offer different plug styles for varying situations [3][6].
Don’t forget “emergency extras”: always include nitrile gloves (for grip and hygiene), a spare valve core, a valve core tool, a knife, and even a mini LED headlamp for night repairs. For organization, pair your tire repair kit for adv bike with a compact toolkit—see how ADV riders integrate essentials in the Tusk Adventure Tool Kit [5].
Common pitfalls:
- Trying to repair a sidewall gash—never recommended, as tire integrity may be compromised.
- Poor plug insertion angle—the plug can leak if not perpendicular to the puncture channel.
- Over-inflating with CO2—can cause a rapid, unsafe seal, or blow a plug out completely.
- Packing an incomplete kit or letting the glue dry out or plugs degrade over time. Regularly inspect and restock before each trip.
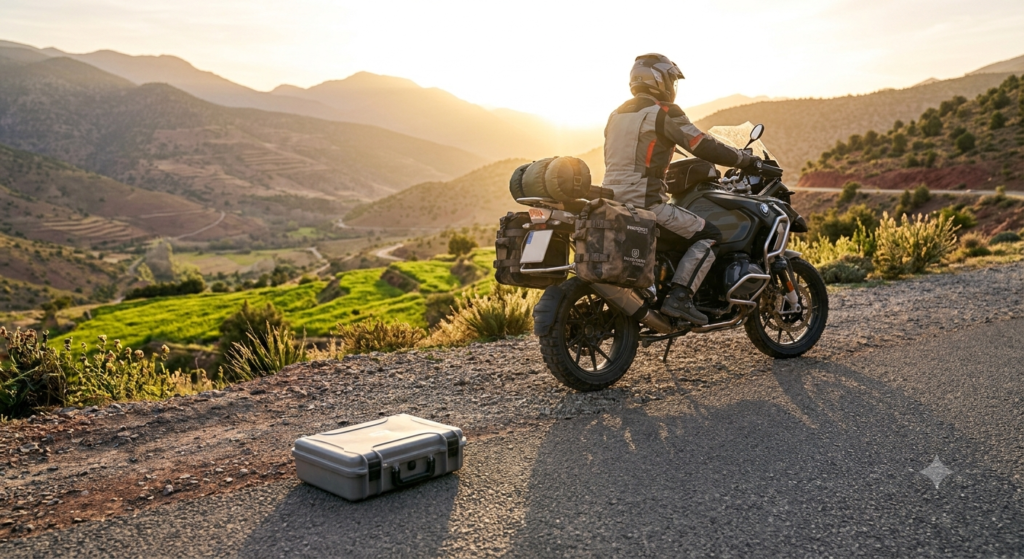
Looking to upgrade your maintenance gear further? Consider a compact battery charger for motorcycles—another must-have for backcountry reliability.
For additional cold-weather prep, pair your kit with a heated vest so you stay comfortable when forced to stop for repairs in the cold.
Conclusion: Be Ready, Ride Farther
Being prepared with the motorcycle tubeless tire repair kit that fits your needs isn’t just smart—it’s essential for anyone who rides beyond the tarmac. Reliable kits like the Dynaplug Pro, Trail Tech, Stop & Go, and Nealey Mini mean you can repair most punctures quickly and ride with peace of mind. Remember, the best tubeless plug kit is only as good as your confidence using it—so practice at home before your next big ride.
Don’t wait for the next flat on the backroads. Invest in the right kit and become the rider everyone wants to have along—confident, self-sufficient, and never stranded. Get your kit, practice, and ride farther.
Frequently Asked Questions
Will a motorcycle tubeless tire repair kit work on all punctures?
Most repair kits work for typical punctures in the tread area of tubeless tires, like nails or small holes. They are not suitable for large tears or sidewall damage, which usually require a tire replacement.
Should I use CO2 or a mini pump for inflating after a repair?
CO2 inflators are fast and compact, but can run out quickly if you need multiple attempts. A mini pump is slower but not limited by cartridges, making it a better choice for extended trips or group rides.
How often should I inspect or replace items in my tire kit?
Check your kit at least once per riding season. Replace dried-out glue, brittle plugs, and used CO2 cartridges. Inspect your tools for rust and ensure everything’s ready before every long ride.
Are mushroom plugs or string plugs better for ADV bikes?
Mushroom plugs, like those in the Stop & Go kit, are ideal for bigger punctures and thicker ADV tires, while sticky string plugs are quicker and easier for smaller holes. Both have a place in a well-stocked kit.
Do I need to remove the wheel to plug a tire in the field?
No—most puncture repairs can be done with the wheel still on the bike, though access is easier if you can safely prop up the bike or remove the wheel. Just be sure your kit is accessible and organized for quick deployment.
—