

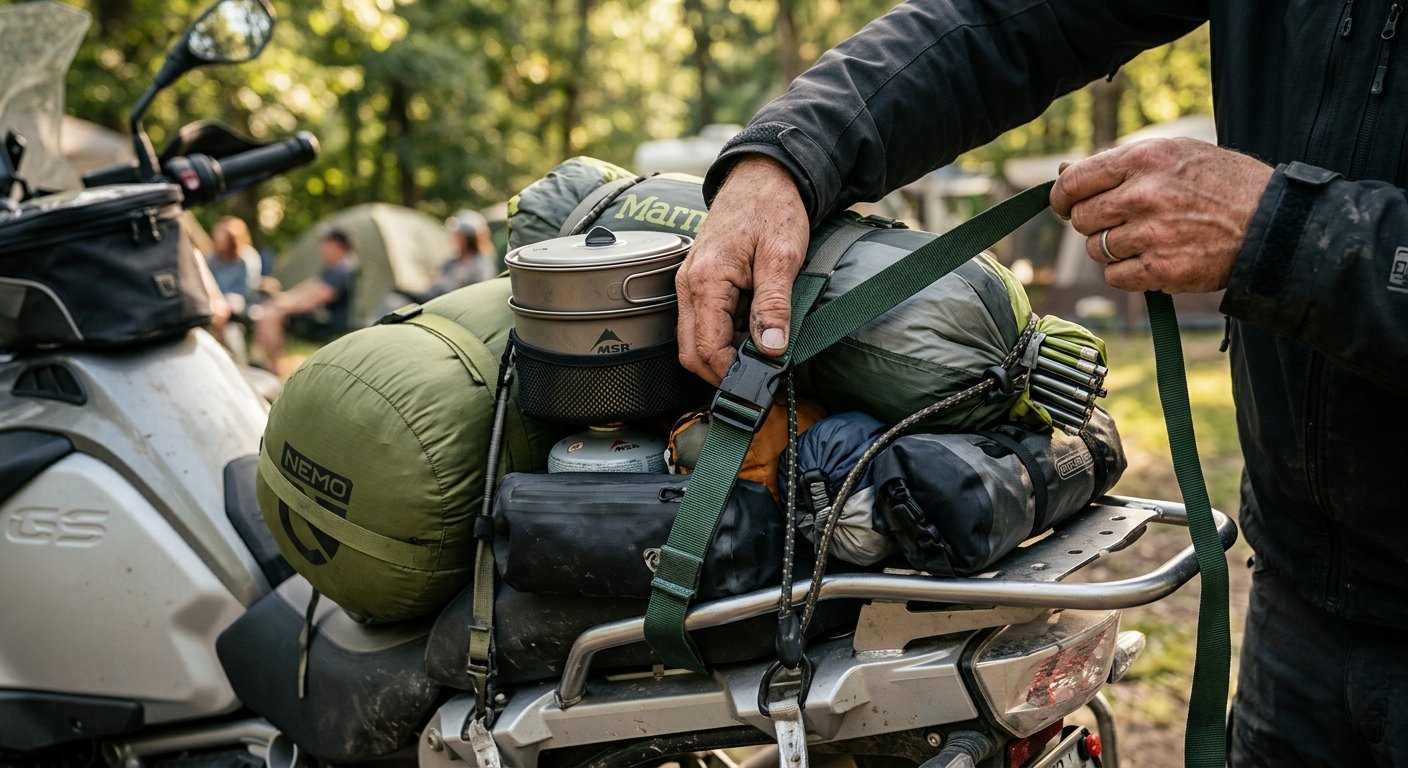
Motorcycle camping luggage setup is the difference between a smooth ADV trip and a punishing slog. Mess it up, and you get an unstable, rain-soaked headache. Pack it right, though, and your gear stays dry, your bike stays level, and setting up camp is fast—even when the weather turns rough.
Key Takeaways
- Balanced weight and organized gear directly impact your safety, comfort, and riding confidence on- and off-road.
- Double-bag essentials using tough waterproof dry bags to guarantee reliable weatherproofing for your motorcycle camping luggage setup.
- Efficient packing and quick-access strategies let you set up shelter fast and avoid campsite chaos, even in the rain.
Table of Contents
Why Weight Balance Matters in Motorcycle Camping Luggage Setup
An imbalanced or poorly planned motorcycle camping luggage setup can turn every mile into a fight against physics. ADV camping luggage setup is as much about safety as it is about comfort. When weight is distributed unevenly or packed too high, even a modest 10-pound shift can make your handling unpredictable on or off the tarmac. You might notice longer braking distances, awkward cornering, or even sketched-out stability on loose gravel and dirt—none of which you want when your day ends with a remote camp setup. Always check if your bike sits level, rear wheel planted, and that nothing blocks your exhaust or indicators. According to industry research, proper luggage setup cuts fatigue and risk, making the ride safer and the adventure more fun.
Pannier and Dry Bag Packing Strategy for Optimal Balance
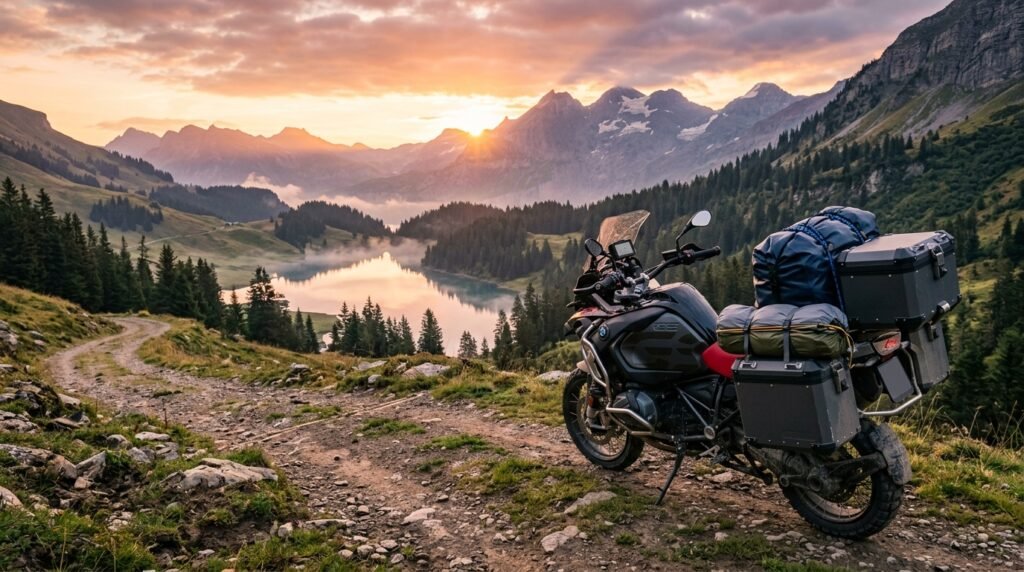
Building an effective motorcycle camping luggage setup comes down to following a deliberate system—no guesswork, no “just throw it in.” Start by organizing everything into categories: tools/maintenance, sleeping, shelter, clothing, kitchen, food, and quick-access items. Heavy gear (tools, spares, compact cooking kit, and sleeping system) should live low in your panniers, right above the rear axle. Light bulky gear (clothing, rainwear, extra layers) sits higher up. Reserve your tail bag or duffel for light, non-essential overnight items, not tools or water—top loads easily upset balance.
Always use waterproof motorcycle camping dry bags as liners—even inside “weatherproof” panniers. Life-support gear like your sleeping bag, dry base layers, or electronics should get their own roll-top sack. Standard ADV riders find a 30–40-liter roll-top duffel strapped lengthwise works perfectly for solo setups, or opt for a pair of waterproof soft panniers with separate 8–20-liter dry bag liners in each for even weight and organization (source).
Balance the tent and sleeping bag side-to-side. If your sleeping bag is in the left pannier, strap your tent and stakes in a compact dry bag to the right pannier or on the rack opposite. This reduces weight bias and helps you access your tent fast without digging into main luggage or exposing dry gear to weather. Keep your “kitchen”—stove, pot, utensils, and basic food—at the top of one pannier or in a small tank bag organizer for instant access at lunch stops or when rain threatens.
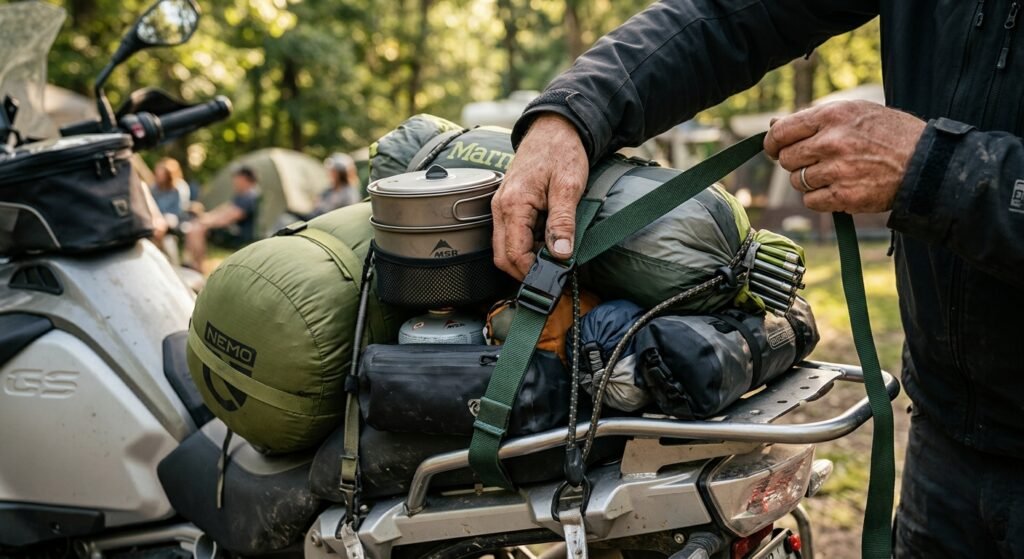
Stability also means not overfilling bags. Leave a few inches of unused space in every waterproof bag to make roll-top seals work, accommodate odd shapes, and prevent seam stress. Don’t burden your tail bag with anything you can’t afford to lose or that you can’t quickly retrieve. For extra peace of mind, always buckle and cinch down your straps and double-check them at every fuel stop (source).
- Quick checklist:
- Heavy items, low in panniers or near axle
- Lighter gear stacked higher or in tail bag
- Tent and shelter in an accessible, separate dry bag
- Kitchen/food at the top of a pannier or in a tank bag
- Double-bag life-support items for total water security
- Maintain left-right side balance (aim for ±1 lb difference)
Want a real-world gear-by-gear breakdown? Check our Adventure Motorcycle Camping Gear guide for specific product recommendations, including compression dry bags, ultralight tents, and packable stoves.
Advanced Analysis & Common Pitfalls
Smart motorcycle camping luggage setup means planning for what goes wrong. Here are common issues ADV riders encounter:
- Poor weight distribution: Top-loading heavy items or lopsided packing leads to unstable handling, especially off-road. Your bike should feel evenly weighted, with gear distributed as low and central as possible.
- False waterproof confidence: Even high-end panniers sometimes leak. Always double-bag sleeping and electronics. Letting a rainy camp or river crossing soak your core kit will end your trip early.
- Slow shelter setup: Storing your tent in a bottom pannier means digging through everything in bad weather. Dedicated tent dry bags, mounted externally or near the top, massively speed up campsite setup in storms.
- Overstuffed top bags: Large or heavy tail bags quickly shift your center of gravity. Use the top bag just for light, non-crucial gear or layers you will need at stops. Never put tools, water, or fuel tanks up here.
- Gear loss: Flimsy straps or unbuckled mounts can send bags into traffic or the ditch. Always run backup straps and inspect all connection points before each ride (source).
| Feature | Hard Luggage (Aluminum Panniers) | Soft Luggage (ADV Dry Bags/Panniers) |
|---|---|---|
| Security | Lockable, high theft deterrence | Not lockable, less theft protection |
| Dust & Water Resistance | Excellent, especially with internal dry bags | Excellent with welded seams & roll-tops |
| Crash Performance | Can dent or bend but offer partial protection | More forgiving, less likely to damage rider or rack |
| Weight | Heavy, can affect handling | Lightweight, better for off-road |
| Ease of Packing | Boxy shapes are easy to pack, less flexible | Flexible, fits odd-shaped gear, snug to bike |
For more detail on the subject, see our full breakdown: Adventure Motorcycle Luggage: Buying Tips and the extensive hard vs soft luggage analysis.
Conclusion
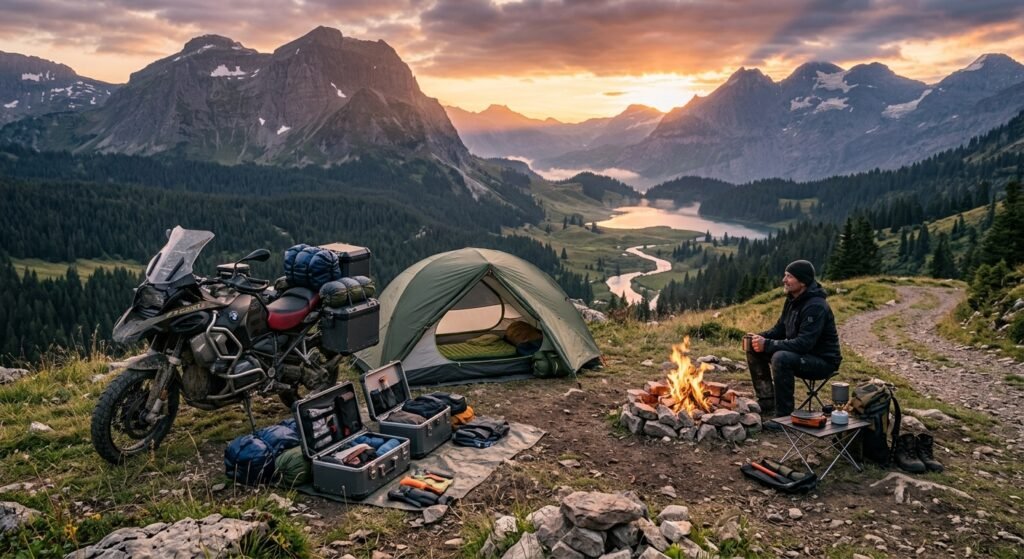
An efficient, balanced, and weatherproof motorcycle camping luggage setup is achievable with mindful planning and a few proven strategies. Focus on low, centered packing, double-bag critical gear, and keep camp essentials instantly accessible. Small improvements—like labeled dry bags or an extra strap in your tank bag—mean less stress and more riding enjoyment. Don’t forget: even a minor load shift can affect your handling, especially if the trail turns technical or the weather goes sideways.
Ready to overhaul your motorcycle camping luggage setup? Explore our expert guides on camping checklists, luggage picks and reviews, and advanced waterproofing tips for more advice, and ride out ready for anything.
FAQ
What should I do if my motorcycle panniers start leaking mid-trip?
Immediately transfer critical gear (sleeping bag, dry layers, electronics) into independent waterproof roll-top dry sacks. If you have a tarp or extra liner, add it as a secondary barrier. On your next stop, inspect seals and consider swapping to new waterproof bags.
Is it better to use hard or soft motorcycle luggage for camping?
Hard panniers offer security and easy packing, but they’re heavy and may cause damage in crashes. Soft panniers are lighter, typically more crash-friendly, and flex to fit odd loads, but they lack theft protection. Many ADV riders combine both for the best of each system.
How do I keep my tent dry and easy to access on the road?
Pack your tent and stakes in a dedicated, waterproof dry bag. Strap it externally to your pannier rack or on top with quick-release straps so you can set up shelter first, even in heavy rain, without exposing your whole kit.
What’s the ideal dry bag size for a solo motorcycle camping setup?
Most riders prefer a single 30–40 liter roll bag or duffel, or two 8–20 liter dry bags as pannier liners. This fits a sleeping bag, small tent, pad, and clothing. Leave ‘expansion room’ to keep seams stress-free and closures watertight. More on dry bag sizing.
How can I maximize gear access and setup speed at camp?
Group gear by function in color-coded bags and keep your tent, rain gear, and cooking kit near the top or outside of bags. Use partial packing cubes or stuff sacks. With practice, your tent should be set up within 5 minutes of arriving at camp.